Content Menu
● What is a Food Dehydrator?
>> Benefits of Using a Food Dehydrator
>> Nutritional Benefits
● Materials Needed for Your DIY Food Dehydrator
>> Tools Required
● Step-by-Step Guide to Building Your DIY Food Dehydrator
>> Step 1: Design Your Dehydrator
>> Step 2: Prepare the Base
>> Step 3: Install Shelves or Trays
>> Step 4: Add Heat Source
>> Step 5: Final Assembly
● How to Use Your DIY Food Dehydrator
>> Preparing Fruits and Vegetables for Drying
>> Drying Process
>> Storing Dried Foods
● Tips for Successful Drying
>> Common Mistakes to Avoid When Using a Food Dehydrator
● Conclusion
● FAQ
>> 1. What types of foods can I dry using my DIY dehydrator?
>> 2. How long does it take to dry foods in a dehydrator?
>> 3. Can I use my oven instead of building a dehydrator?
>> 4. How do I know when my food is properly dried?
>> 5. Is it safe to eat dried foods if they were not stored properly?
● Citations:
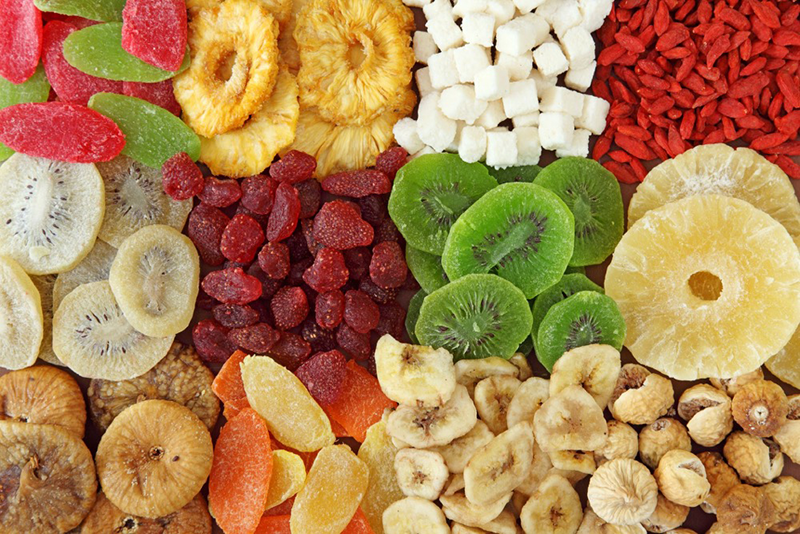
Creating a DIY food dehydrator is a rewarding project for anyone interested in preserving fruits, vegetables, and even herbs. This guide will provide you with step-by-step instructions on how to build your own dehydrator, along with tips on what foods to dry, the benefits of dehydrating, and how to use your finished product effectively.

What is a Food Dehydrator?
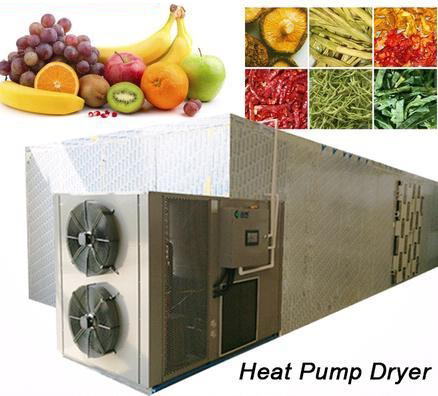
A food dehydrator is a device that removes moisture from food to aid in preservation. By reducing the water content, you inhibit the growth of bacteria, yeast, and mold, allowing you to store food for extended periods without refrigeration.
Benefits of Using a Food Dehydrator
- Preservation: Extends the shelf life of fruits and vegetables.
- Nutrition: Retains most nutrients compared to other preservation methods.
- Flavor: Concentrates the flavors of dried fruits and vegetables.
- Convenience: Easy to store and use in various recipes.
- Cost-effective: Reduces food waste and saves money on groceries.
Nutritional Benefits
Dehydrating food can help retain essential nutrients. For example, while some vitamin C may be lost during the drying process, many B vitamins and minerals remain intact. This makes dehydrated foods not only convenient but also nutritious. Additionally, by controlling what goes into your dehydrated snacks, you can avoid preservatives and additives commonly found in store-bought options.
Materials Needed for Your DIY Food Dehydrator
To create your own food dehydrator, you will need the following materials:
- A wooden or plastic box (for the base)
- Wire mesh or screen (for airflow)
- A small fan (to circulate air)
- Light bulbs or heating elements (for heat)
- Thermometer (to monitor temperature)
- Ventilation holes (to allow moisture to escape)
Tools Required
- Screwdriver
- Drill
- Saw (if cutting wood)
- Measuring tape
Step-by-Step Guide to Building Your DIY Food Dehydrator
Step 1: Design Your Dehydrator
Before you start building, sketch out a design for your dehydrator. The most common designs are box-style or stackable tray models.
Step 2: Prepare the Base
1. Cut the Wood: If using wood, cut it into panels that will form the walls of your dehydrator.
2. Assemble the Box: Use screws or nails to assemble the wooden panels into a box shape. Ensure that it is sturdy and can hold the weight of trays filled with food.
3. Create Ventilation Holes: Drill holes at the top and bottom of the box for air circulation.
Step 3: Install Shelves or Trays
1. Cut Wire Mesh: Cut pieces of wire mesh or screen to fit inside your box. These will serve as shelves for drying food.
2. Install Trays: Place the wire mesh trays inside the box at intervals that allow for air circulation.

Step 4: Add Heat Source
1. Install Light Bulbs: If using light bulbs as a heat source, install them at the bottom of the dehydrator. Ensure they are securely mounted.
2. Connect Fan: Position a small fan near the light bulbs to help circulate warm air throughout the dehydrator.
3. Thermometer Installation: Place a thermometer inside to monitor temperature levels.
Step 5: Final Assembly
1. Seal Gaps: Use caulk or weather stripping around edges to prevent heat loss.
2. Test Your Dehydrator: Before using it for actual food, run your dehydrator empty for several hours to ensure it reaches and maintains an appropriate temperature (around 130°F to 160°F).
How to Use Your DIY Food Dehydrator
Preparing Fruits and Vegetables for Drying
1. Washing: Thoroughly wash all fruits and vegetables.
2. Cutting: Slice them into uniform pieces to ensure even drying.
3. Blanching (Optional): For some vegetables, blanching before drying can help preserve color and flavor.
Drying Process
1. Arrange on Trays: Spread out your prepared fruits and vegetables on the wire mesh trays in a single layer.
2. Set Temperature: Turn on your dehydrator and set it to an appropriate temperature based on what you are drying.
3. Monitor Progress: Check periodically until they reach your desired dryness level.
Storing Dried Foods
Once dried, store your fruits and vegetables in airtight containers in a cool, dark place. Properly dried foods can last for months or even years when stored correctly.
Tips for Successful Drying
- Rotate trays during drying for even results.
- Keep an eye on moisture levels; if condensation forms inside, increase ventilation.
- Experiment with different foods; not all fruits and vegetables dry at the same rate.
Common Mistakes to Avoid When Using a Food Dehydrator
1. Skipping Pre-Treatment: Failing to pre-treat fruits with lemon juice or blanching vegetables can lead to discoloration and loss of nutrients.
2. Overloading Trays: Overcrowding can hinder air circulation, resulting in uneven drying.
3. Ignoring Consistent Slicing: Cutting food into uneven sizes leads to inconsistent drying times.
4. Not Monitoring Temperature Settings: Using incorrect temperature settings can result in improperly dried food; always refer to guidelines based on food type.
5. Improper Storage Practices: Storing before cooling can introduce moisture back into your dried foods leading to spoilage.
Conclusion
Building a DIY food dehydrator is an excellent way to preserve seasonal produce while saving money and reducing waste. With just a few materials and some basic tools, you can create an efficient machine that allows you to enjoy dried fruits and vegetables year-round.
By following this guide, not only will you have a functional dehydrator, but you'll also gain valuable knowledge about food preservation techniques that can benefit you in many ways. The ability to control what goes into your dried snacks means healthier choices for you and your family while also making use of surplus produce that might otherwise go to waste.

FAQ
1. What types of foods can I dry using my DIY dehydrator?
You can dry various fruits like apples, bananas, strawberries; vegetables such as tomatoes, peppers, carrots; as well as herbs like basil and oregano.
2. How long does it take to dry foods in a dehydrator?
Drying times vary based on type and thickness of slices but generally range from 6 to 12 hours at temperatures between 130°F to 160°F.
3. Can I use my oven instead of building a dehydrator?
Yes! You can use your oven at its lowest setting with the door slightly ajar as an alternative method for drying foods if you don't want to build a dehydrator.
4. How do I know when my food is properly dried?
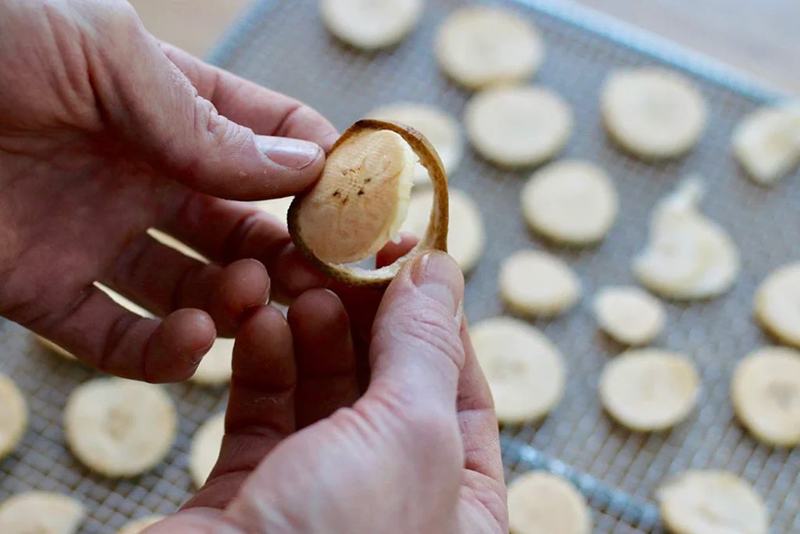
Properly dried foods should be leathery but not sticky or moist; they should snap when bent rather than bend without breaking.
5. Is it safe to eat dried foods if they were not stored properly?
Improperly stored dried foods can lead to spoilage or mold growth; always ensure they are kept in airtight containers in cool dark places for safety.
Citations:
[1] https://eatsleepwild.com/homemade-dehydrated-backpacking-meals/
[2] https://homesteadingfamily.com/preservation-101-intro-to-dehydrating-food/
[3] https://www.mitchellcooper.co.uk/what-is-a-dehydrator-commercial-buying-guide
[4] https://www.freshoffthegrid.com/dehydrating-food/
[5] https://winecountrytable.com/eat-drink/chefs-tips/the-art-of-dehydrating-fruit-vegetables-and-herbs-a-chefs-guide/
[6] https://www.campkitchen.ca/blog/dehydrating-basics
[7] https://crownful.com/blogs/tips/mistakes-to-avoid-when-you-are-using-dehydrator
[8] https://www.youtube.com/watch?v=lEUA2t2XD5M
[9] https://brodandtaylor.com/pages/dehydrating
[10] https://www.freshtimefoods.com/post/dehydrating-tips-common-mistakes-to-avoid


